Terminal blocks—often called electrical “domino” blocks or connector strips—are essential components in any fixed wiring system. Their job is to join two or more conductors safely, providing reliable, protected connections. They replace old improvised splices wrapped in tape with a safer, professional method that is familiar to both trainees and experienced electricians.
This practical guide explains what terminal blocks are, the main types available, what they are made from, correct installation, advantages, applicable UK standards, and field tips. You will also find typical residential and industrial applications that show why terminal blocks matter in day-to-day electrical work.
Definition: what is a terminal block or “domino” connector?
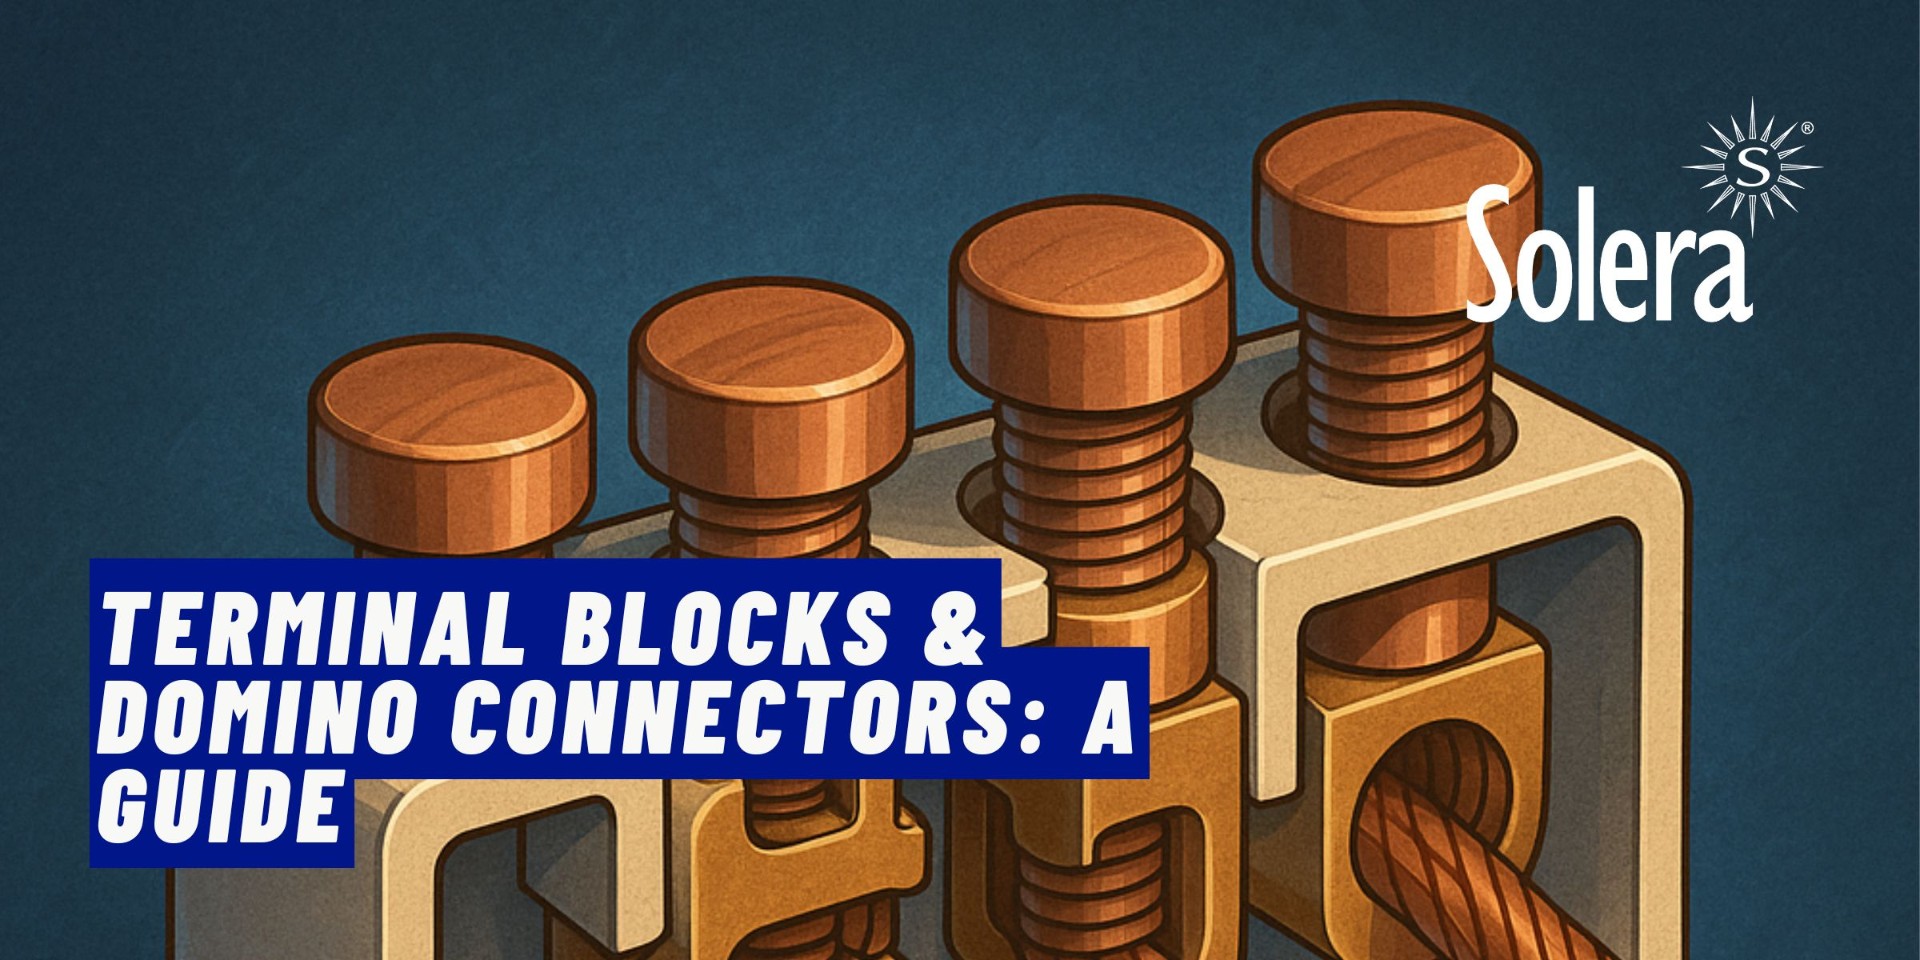
A terminal block is an electrical connector made up of an internal metallic sleeve (typically brass or another copper alloy) housed in a non-conductive outer body (plastic or ceramic). Each module has holes for the stripped cable ends and clamping screws that press the conductors against the metal, ensuring sound contact. In short, the block acts as a bridge that links two or more conductors in an orderly, secure way.
Each module usually connects at least two conductors (one each side of the sleeve). Strips are supplied in bars of several modules (commonly 10 or 12 in a row). You cut the bar to the number of ways you need—hence “terminal strip”. The nickname “domino” comes from each module resembling a domino tile and is widely used among electricians.

Do not confuse these connection strips with multiple socket outlets used to plug several appliances into the mains. The terminal blocks discussed here are components for splicing fixed wiring within an installation. Their purpose is technical: maintain electrical continuity in branches and joints while avoiding unsafe “twist and tape” joins. Using proper blocks reduces the risk of short circuits, overheating and electric shock, keeps the installation organised by conductor (line, neutral, CPC), and simplifies maintenance.
Main types of terminal blocks
The market offers several types of terminal blocks to suit different tasks:
- Traditional screw terminal strips: The most common design. A moulded insulating body (plastic or ceramic) contains multiple metallic sleeves. Each sleeve has opposing screws that clamp the inserted conductors. Sizes match the conductor cross-section—e.g. strips rated for 2.5 mm² up to 35 mm² or more, with current capacities from around 10–16 A for small sizes to well above 100 A for large ones. Ideal for most joints in dwellings and also used with large conductors in industry. Available as “floating” strips that sit within a junction box, or with fixing lugs for screwing to a panel or enclosure.
- Tool-free lever/spring connectors: Rapid push-in or lever types popular in recent years. They perform the same function but use internal springs or a small lever instead of screws. Supplied in compact 2-way, 3-way, etc. bodies to join several conductors at once. Advantages: speed, repeatability, compactness, and tidy work inside small boxes. Common in modern domestic lighting and accessories because they save time and provide secure retention.
- “In-line” or plug-in mini blocks: Small, often transparent blocks for luminaires or portable equipment. Fewer poles (2–3), lower currents (e.g. 3 A, 6 A, 10 A) and smaller conductors. Called “in-line” because they are not fixed; they simply join two flexes. Many include captive screws and clear bodies for visual checks.
- DIN-rail terminal blocks: Strictly not “domino blocks”, but worth noting. These modular terminals mount on DIN rail in control panels. Widely used in industrial installations to organise high volumes of connections. Screw or spring versions exist, with markers, jumpers and partitions for professional panel work. Functionally they link conductors like strips, but at panel scale. In demanding industrial environments they are preferred for robustness and labelling; for quick splices and small junctions, traditional screw strips remain a simple option.
- Ceramic high-temperature strips: A screw strip variant with a ceramic body instead of plastic for very hot environments (ovens, heaters, machinery) where plastics would soften. Ceramic withstands extreme temperatures (often up to around 800 °C in suitable designs). Internals are usually nickel-plated brass sleeves with steel screws. Typically supplied as small 2- or 3-pole blocks. They resist heat but are less impact-resistant and cost more, so use them only where necessary.
A standard screw strip consists of repeated modules. Each contains the metal sleeve and two screws; tightening clamps the conductors inserted from each side. Strips come in different sizes and colours. The most common plastics are white or black, made from self-extinguishing, high-strength compounds such as polypropylene or PA 6.6. There are transparent versions for visual inspection. Sizes are defined by the maximum conductor they accept: typical strips are 2.5 mm², 4 mm², 6 mm², 10 mm², 16 mm², 25 mm², 35 mm², etc., each with matching current ratings (e.g. ~24 A for 4 mm², ~32 A for 6 mm², ~76 A for 16 mm², ~100 A for 25 mm², ~125 A for 35 mm², depending on the manufacturer). Always choose a strip whose specification meets or exceeds the circuit’s current and conductor size.
Ceramic three-pole examples illustrate how the body material enables high-temperature use while keeping the same principle—metal sleeves with pressure screws. Downsides are brittleness to impact and higher cost. Use where heat would compromise plastics.
Materials used in terminal blocks
The insulating body and the metallic internals define performance and compliance:
- Insulating plastics: Most strips use technical plastics such as self-extinguishing PVC, PA 6.6 (nylon) or polypropylene. These are formulated for heat resistance, good dielectric strength and self-extinguishing behaviour (e.g. UL94 V-2 or V-0). Many are halogen-free and compliant with RoHS. Colours are usually white, black or clear; some ranges colour-code CPC and neutral for easy identification.
- Metallic parts: The conductive sleeve is typically brass or another copper alloy for conductivity and corrosion resistance, often nickel- or tin-plated. Screws are generally galvanised steel with combined heads and captive designs to speed work and prevent loss. Quality metalwork ensures low contact resistance and long-term reliability.
- Ceramics: High-temperature strips use porcelain/steatite. Ceramic is an excellent insulator and does not burn, making it ideal around heat sources. Internals are similar to plastic strips: nickel-plated brass sleeves and steel screws.
Buy from recognised manufacturers that certify material quality—halogen-free compounds, self-extinguishing ratings, and high-grade metal sleeves. This delivers safer, longer-lasting connections—vital in any installation.

How to use them: step-by-step connection
Using a terminal strip is straightforward, but follow these steps and good practice:
- Isolate the supply: De-energise the circuit at the consumer unit. Never work live.
- Prepare the conductors: Strip 5–10 mm of insulation (according to the strip size and the manufacturer’s guidance). Expose enough copper for full contact inside the sleeve, without leaving bare copper protruding once clamped.
- Insert conductors: Loosen the screw for the relevant sleeve (no need to remove it). Insert the stripped end. Two common scenarios:
- Two conductors in one joint (joining two runs): Preferably insert one conductor from each side of the sleeve and tighten both screws. If allowed and space permits, two same-size flexes may share one side, but ensure both are fully clamped. One-per-side is best practice.
- Three or more conductors (e.g. branching a line): Use adjacent sleeves. Put two conductors in one sleeve and the third in the next, then link the sleeves with a short pigtail so all three are commoned. For multiple branches, consider a proper distributor or DIN terminals rather than many cascaded sleeves.
- Tighten correctly: Tighten firmly with the right screwdriver. Some makes state a torque (e.g. 0.8 Nm, 1.2 Nm). Over-tightening can shear strands in flexible conductors or damage threads. A correct clamp will not allow the conductor to move when pulled, without crushing it.
- Check the joint: Tug each conductor to confirm it is secure. Ensure no stray strands are exposed that could cause faults. Place the joint in a suitable junction or accessory box before re-energising.
Only join conductors from the same circuit and function together. Avoid mixing dissimilar sizes and constructions in the same sleeve; if unavoidable, use ferrules on flexible conductors to improve clamping under the screw.
Installation tips and best practice
- Always use a box or enclosure: Never leave a strip loose or exposed. All joints must be enclosed in a junction box, accessory box or enclosure of adequate size. This protects against accidental contact and helps maintain the building’s IP performance.
- Do not overload a strip: Respect its current and conductor size ratings. Do not force oversize conductors into smaller sleeves. Follow the specifications marked on the product.
- Fix when possible: Where strips have fixing lugs, screw them to a firm surface inside the box or panel. In vibrating environments, fix and periodically re-check tightness.
- Keep order and identification: Group line, neutral and CPC on separate blocks where appropriate. Label or colour-mark as needed to simplify future work.
- Use compact lever connectors in tight spaces: In cramped boxes, approved lever/spring connectors can save space and time. Ensure they are certified and correctly rated.
- Replace damaged strips: Burnt, cracked or loose sleeves are a red flag. Replace rather than reuse questionable parts.
- Re-torque after service: On high-load circuits or where vibration is present, re-check terminal tightness after a period of operation—always with the circuit isolated.
Poor joints—loose screws, badly stripped conductors—lead to heat build-up and intermittent faults that are time-consuming to trace. Take the time to make each joint right.
UK standards and legal framework
Terminal blocks are electrical accessories and must meet UK safety law and relevant standards:
- Electrical Equipment (Safety) Regulations 2016: UK legislation governing electrical equipment placed on the GB market. Products must be safe, supported by conformity assessment and appropriate marking (UKCA, or CE where accepted under current UK guidance). Reputable manufacturers such as Solera provide declarations and technical data confirming compliance (insulation strength, temperature rise, fire performance, etc.).
- IET Wiring Regulations BS 7671:2018+A2:2022: The UK standard for electrical installations. Relevant principles include:
- Joints must be made using suitable terminals or splicing devices in appropriate enclosures, accessible for inspection where required, and protected against mechanical stress.
- Connections shall be sound, with adequate contact pressure, appropriate for the conductor type (solid/stranded/flexible) and size, and protected against loosening and corrosion.
- Maintain IP rating and fire performance of building elements when making penetrations and boxes.
- BS EN 60998 (Connecting devices for household and similar purposes) parts 1 and 2-1 cover general and screw-type requirements. For panel use, BS EN 60947-7-1 covers terminal blocks for copper conductors. Boxes and enclosures for fixed wiring are covered by BS EN 60670.
- RoHS (UK): The Restriction of the Use of Certain Hazardous Substances Regulations (as amended) limits hazardous substances in EEE. Look for RoHS-compliant materials and halogen-free options where specified.
- Building Regulations, Approved Document P (England & Wales): Domestic electrical work must ensure safety and, where notifiable, be certified. Using appropriate accessories and enclosures is part of compliance.
Bottom line: use approved, marked products from recognised brands and install them in accordance with BS 7671 and manufacturer’s instructions.

Typical applications in homes and industry
- Joints in domestic junction boxes: In dwellings, strips are common inside ceiling roses and junction boxes. They join line feeds from the consumer unit/enclosure to lighting legs, link neutrals, and terminate CPCs. Many luminaires include their own connector block for ease of installation.
- Installing luminaires and appliances: Ceiling fans, pendants, wall lights and built-in appliances typically need a sound splice between fixed wiring and the equipment tails. Terminal blocks make a safe, serviceable joint.
- DIY and small repairs: Extending a flex, repairing an extension lead, connecting a bell transformer—terminal blocks are a go-to because they require no soldering and minimal tooling. Even for temporary but safe tests, a certified connector is better than makeshift joins.
- Simple distribution in small panels: In small irrigation or garden control boxes, strips can common neutrals for solenoids or distribute a switched line—when a full DIN terminal rail is overkill.
- Machines and industrial installations: Heavy-duty screw strips for large cross-sections (up to 35 mm² and 125 A) are used to splice motor feeds, heaters and distribution tails inside enclosures near equipment. For high-volume terminations and identification, DIN-rail terminals are preferred in control panels.
- High-temperature areas: Kitchens, ovens, heater banks, or luminaires near heat sources often require ceramic strips, where plastics might carbonise. These maintain continuity in harsh thermal conditions.
Choosing and sourcing terminal blocks
Match the strip to the conductor size and circuit current, consider the environment, and select the construction that makes installation easier and safer. Explore Solera’s connection ranges here:
- Terminal strips – screw types from small section up to heavy-duty gauges.
- Connection devices, terminals and insulations – complementary connectors and accessories.
- Enclosures and junction boxes – correct containment to maintain IP and protect users.
- ION multiple sockets – for surge-protected plug-in distribution at the point of use.
Conclusions
Terminal blocks are small components with a big impact on the safety and reliability of fixed wiring. They enable professional, compliant splices and branches, avoiding dangerous improvisation. We have reviewed their purpose, types—from traditional screw strips to modern lever connectors—their materials, correct use, advantages over ad-hoc joins, and the key UK rules that apply. Choose quality products—blocks that carry the current, grip conductors securely and insulate properly—and follow good installation practice with suitable boxes and correct tightening.
For trainees, a terminal strip is often the first accessory they learn to use because it appears in almost every basic job. For seasoned electricians, it remains a dependable ally for quick, safe joints. Do not underestimate them: a well-executed installation treats every connection with care. Using quality connection elements and respecting BS 7671 is essential for professional, durable results.
We hope this in-depth overview helps both newcomers and professionals refresh key concepts and adopt current best practice. Terminal blocks show how a simple component, used correctly, can make the difference in electrical safety. Keep learning and consult technical resources for each project—safe electrics are the result of knowledge and care.